A clean gradient: getting sponge ombre right on the first attempt

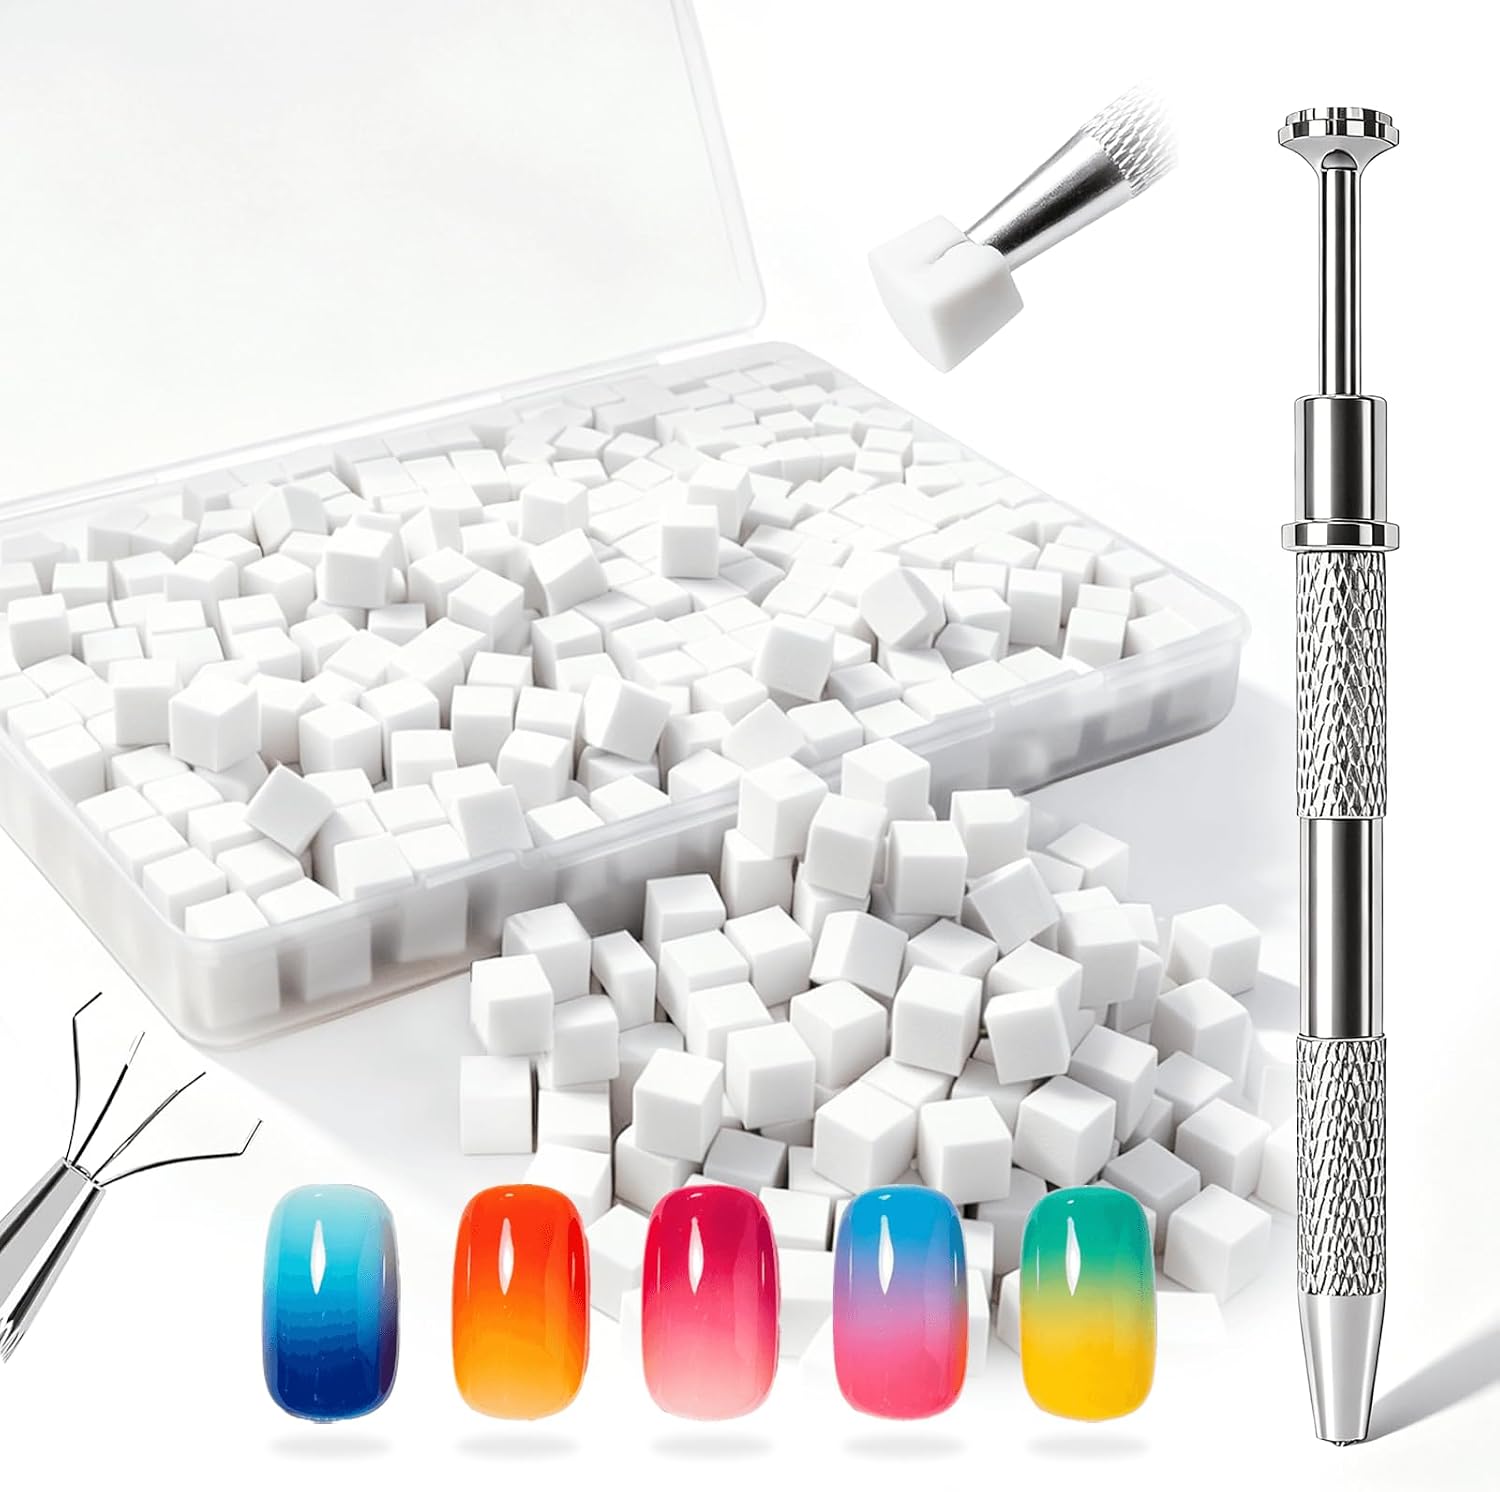
A sponge gradient is one of the few nail art techniques that looks considerably harder than it is. The method is simple; the failures are consistent, and they come from sponge choice, paint consistency and impatience between layers. Get those three right and the blend works on the first try.
Use a fine, soft sponge, not a kitchen one
The texture of the sponge becomes the texture of the blend. A coarse open-cell sponge leaves visible pitting, because the polish only touches the nail where the sponge material does.
Fine latex or soft makeup sponges have a dense, small cell structure that transfers colour almost continuously. This one choice is the difference between a gradient and a speckle.
Build a base first, then blend on top of it
Applying gradient colours straight onto the bare nail gives patchy coverage, because a sponge deposits less polish than a brush does. The result looks thin and uneven no matter how well you blend.
An opaque base coat in the lighter of your two colours gives the gradient something to sit on. The blend then only has to create the transition, not the coverage.
Paint the colours onto the sponge, overlapping slightly
Stripe both colours directly onto the sponge with a small overlap where they meet, and let them mingle very slightly on the sponge itself. That overlap is where the gradient is actually made.
Reapply the polish to the sponge for each dab. Polish dries fast on a sponge, and a half-dry sponge drags instead of transferring.
Dab, do not wipe
Press straight down and lift straight up, repeatedly, in the same area. Any sideways motion smears the two colours into a single muddy band and destroys the transition.
Several light dabs beat one heavy press. Build the colour in passes and let each pass touch the surface briefly.
Let each pass set slightly before the next
Going straight back over wet polish lifts what you just laid down. A short pause — long enough for the surface to stop being glossy-wet — lets each pass build on the last.
This is where most attempts go wrong. The blend looks worse after the third pass than after the second, and the reason is almost always speed rather than technique.
Clean up while it is still fresh
Sponging inevitably puts polish on the skin around the nail. A small angled brush with remover cleans that line far more precisely than trying to be careful during application.
A grabber pen or holder for the sponge keeps your fingers clean throughout, which makes the cleanup step much smaller in the first place.
What you need for this
The gradient kits here pair fine latex sponges with a grabber pen, which covers the two tools this technique actually depends on. On our own shelf that range currently runs from $3.99 for the JODSONE 100-Piece Soft Latex Nail Sponges with Grabber Pen for Gradient Art up to $6.99 for the Fcozpjk Rotatable Clear Silicone Nail Art Stamper & Scraper Kit, 2-Count.
The items here all live under Nail Art Supplies — 4 products at the moment. What you see here is what checkout charges — nothing is added at the last step.
- JODSONE 100-Piece Soft Latex Nail Sponges with Grabber Pen for Gradient Art — $3.99
- Etercycle 20-Count Pink Disposable Nail Table Mats for Acrylic & Art — $4.99
- cncicxk 200 White Soft Ombre Nail Sponges with Grabber Pen — $4.99
- Fcozpjk Rotatable Clear Silicone Nail Art Stamper & Scraper Kit, 2-Count — $6.99
Related reading
Two other pieces on this site cover ground next to this one. The dividing line is porosity. Anything that absorbs cannot be cleaned reliably, and has to be disposable. And on a related note, almost every uncomfortable drill experience is a heat problem, and heat comes from pressure and dwell time rather than from speed alone.
- Hygiene between clients: what has to be single-use and what does not
- Cordless nail drills: speed, torque and the mistakes that cause heat
Why a gradient looks muddy
Almost always because the two colours were blended too aggressively on the sponge before they reached the nail. A slight overlap is what creates the transition; mixing them thoroughly just produces a third colour with no gradient in it.
The other cause is choosing two colours from opposite sides of the colour wheel. Complementary colours physically mix into grey or brown at the transition, which is why blue-and-orange gradients rarely look like the reference photo.
Sealing the finish so it lasts
A sponged surface is slightly textured because it was built in dabs rather than brushed flat. Without a top coat it looks dull and catches on fabric, and the peaks wear through first.
A generous top coat levels that texture and is what gives a sponge gradient the smooth glossy look it is supposed to have. Applying it while the gradient is fully dry, and capping the free edge, is what stops the tips wearing away within days.
If the blend still looks blotchy
Check the sponge first — coarse texture causes most blotching. Then check whether you have an opaque base underneath. Then slow down between passes. In that order those three fix nearly every failed gradient.
Orders leave our counter in Los Angeles, CA at $4.50, or free once you pass $35. You have 30 days to return anything unused. [email protected] reaches us.